|
|
Post by spuds on Apr 25, 2010 18:50:36 GMT -6
Will have 320 watts total, two 85 watt panels and two 75 watt panels... 4 of the 95 amp AGM Batteries,2 of the 10 amp charge controllers,1000 dollars total.I will lay out costs as installed. Took 2 20 foot pieces of angle iron for 32 bucks.Got to steel place at 1150,they close at 12.And finished welding at sundown.BIL wanted to keep at his place and bring up Friday so he could grind welds,paint,etc as he is a perfectionist,I just wanted it workable and so rushed him,and got it home same day.Panels will go down both sides,walkway in middle starts at 8 inches and goes to 12 inches in front,lumber rack is uneven,go figure! Still needs paint.Rack welded off the truck.    |
|
|
|
Post by Rita on Apr 25, 2010 18:58:22 GMT -6
Sounds interesting Spuds ..  I would NEVER have a clue on how to start Nor would I have funding  One of these days tho ...  |
|
|
|
Post by spuds on Apr 25, 2010 21:14:32 GMT -6
Its incredibly simple,thats the cool part,anybody can,and does,put these together and that includes ladies with zero mechanical skills and they do it too.
Really its put in screws to hold panels in place and wirenut postive and negative wires from panels together,then run those wires to a charge controller (which is labeled where to screw in wires from panels) and from there to the battery (again its labeled Batt,just run wire from that spot on controller to your battery),thats really all there is to it.The charge controller is an electric brain that takes care of seeing panel output charges battery correctly and doesnt let battery overcharge,all automatic.
Pics will show how incredibly simple this is.
|
|
|
|
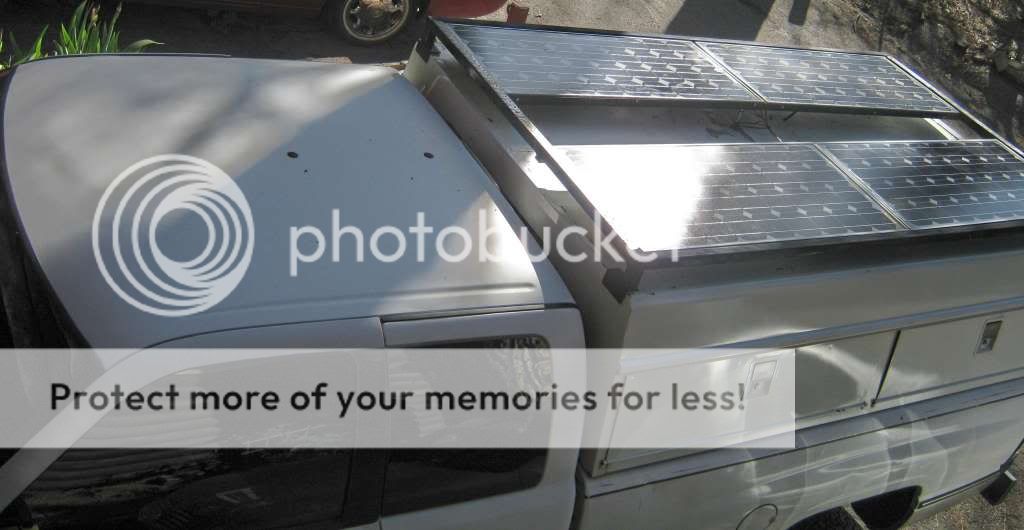
Post by spuds on May 2, 2010 20:49:12 GMT -6
Got most of holes drilled,at least the really tough ones,they had to go thru both rack and angle on passenger side,drivers side angle sits lower so just drilled angle iron holes.Starting wire preps.Had to find 4 large screws for passenger side as longer,got em. So 2 separate systems,2 panels each to 2 batteries per system,left and right.Batteries go in the trays in outside shell openings towards the back,fit like they were made for em,cool! . Back to work,should get em done today.Pics to follow. ---------------------------- Not yet finished but a preview.... These are the Left sided system panels mounted.... Click to enlarge pics  Wires in place but I will get some cover plastic tubing tomorrow to clean up the install 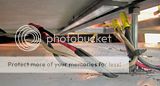 Left side battery,will be 2 on each side,sure fit in the spot nice!Eventually will tie a switch into batts so they may all 4 be connected,will be better when using unverter to have 4 batts online.  Should be able to finish it up tomorrow if things stay quiet on the homefront.Will modify pics and descriptions later when I finish up the install |
|
|
|
Post by spuds on May 3, 2010 19:16:48 GMT -6
|
|
|
|
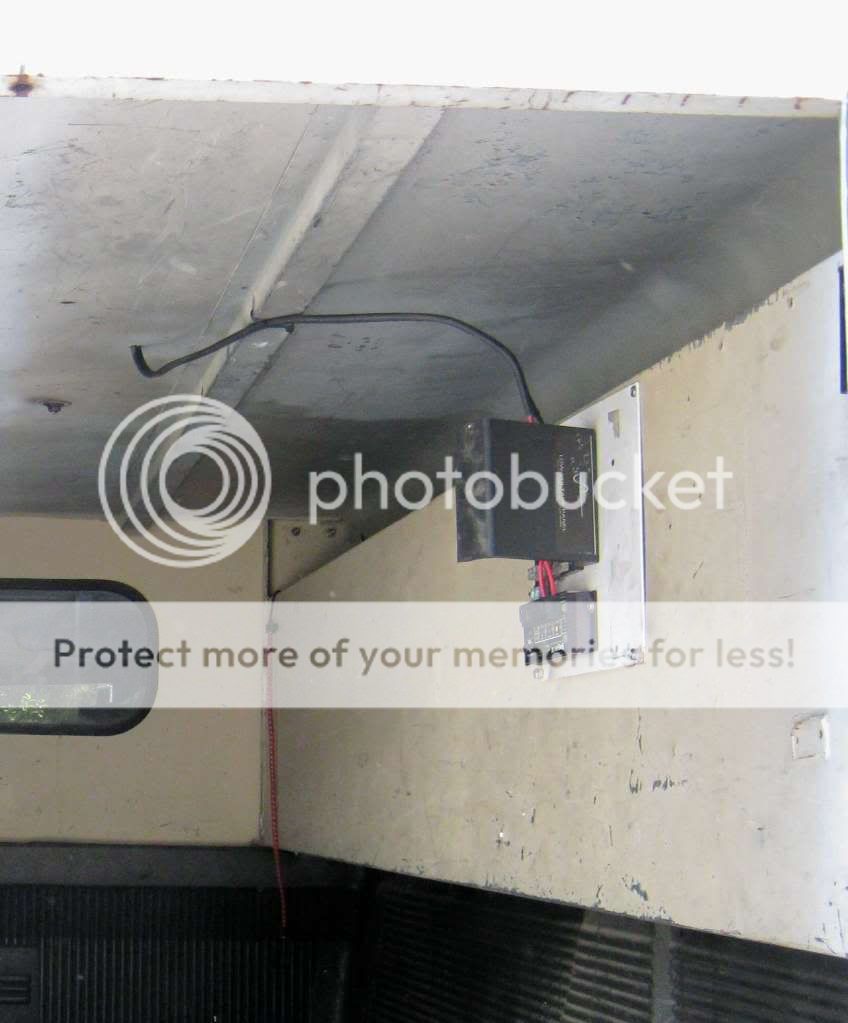
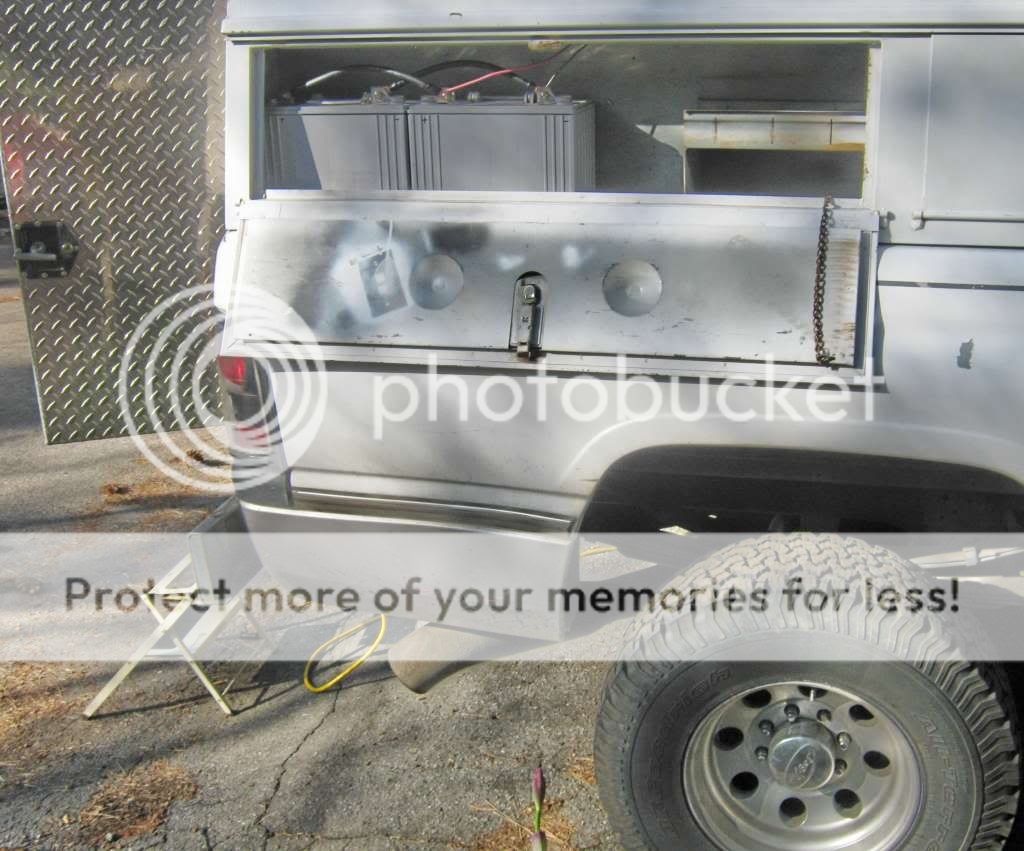
Post by spuds on May 15, 2010 19:31:45 GMT -6
Fuse Block and 10 Amp Morningstar Charge Controller. No Rocket science here....You hook the Positive wires from Batteries and Panels to a fuse,from there to the Pos. Batt or Panel spot on controller,all is labeled.Run Negative wires from Batts and Panels to spot on charge controller. Cost used for Power Panel-20 dollars. CLICK TO ENLARGE  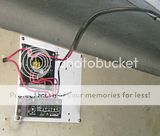 2 batteries in the side drawer.Oops,one cable too long,need to change that.Batts sit far back for good weight distribution. Batt used,25 dollars.Each Batt cable 8 dollars,made to size at local Auto Parts store. Will repeat on other side of truck,2 panels to 2 batteries. 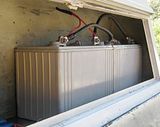  Panels show 19.7 volts at charge controller,batteries show 12.7 volts. The 'other' solar system,passenger side... 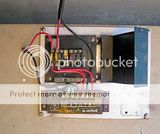  Batteries Right side.... 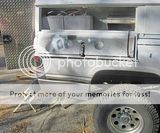 |
|
|
|
Post by spuds on May 15, 2010 19:32:54 GMT -6
So what did I get and what did it cost? I have 2 individual solar systems,each has 160 watts of panels and 2 95amp sealed batteries. Angle Iron to make ladder rack a panel rack...32 dollars 320 Watts of Monocrystalline Solar panels @ 2dollars/watt...640 dollars 2 Power panels (fuse block and 10amp Morningstar controller @ 20 each...40 dollars 4 Batteries,95amp sealed @ 50 each...200 dollars 4 battery cables @ 8 each...32 dollars Assorted nuts and bolts ...15 dollars Had my own wires GRAND TOTAL....959 dollars for 2 systems,320 watts total,380 amps of batteries,installed at 2.99 a watt! ..........  |
|
|
|
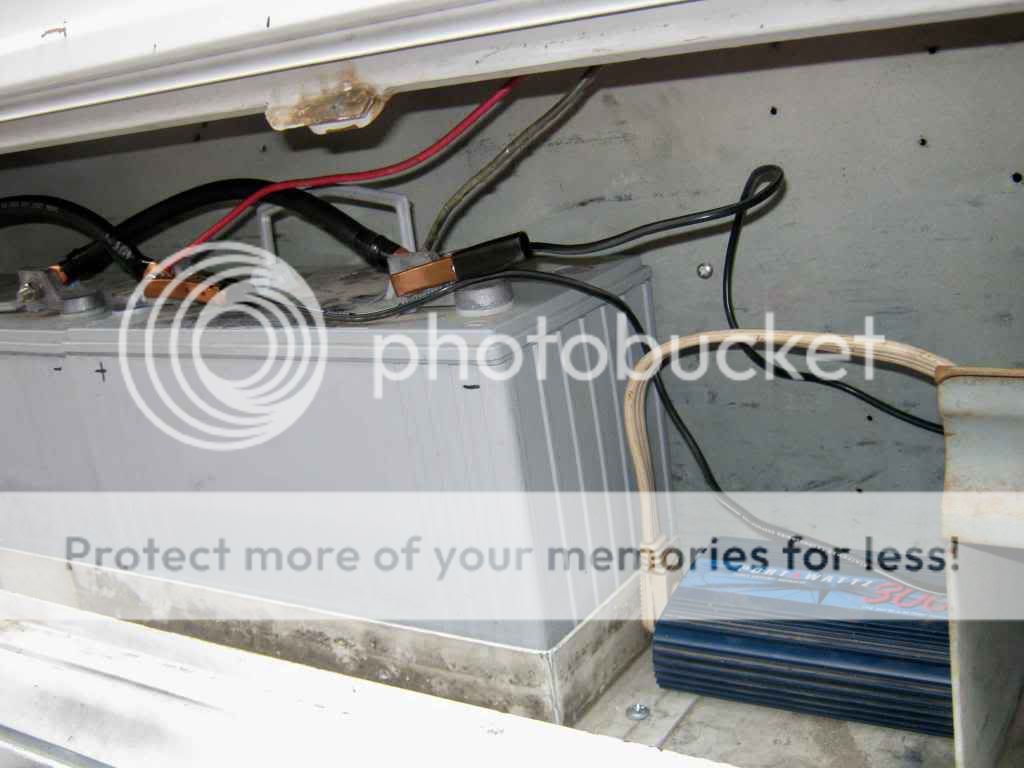
Post by spuds on Jun 10, 2010 9:29:27 GMT -6
Here are the batteries with an angle aluminum tray holder I put in place with scrap material. Also note the 300 watt inverter.It merely clamps to the battery terminals,is self fused.You can put whatever size inverter you want,but with just 2 batteries I think 1000 watt would be plenty.Follow manufacturers instructions for cable connections and fusing to batteries for your inverter.Im thinking a 2000 watt inverter and the four batteries hooked together will be just about right eventually. 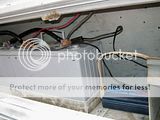 Truth in advertising....I dont have top battery hold downs and on an offroad excursion,downhill,hit a little bump and front battery came a few inches out of tray.Get them securely tied down. What can I do with this? Let me ask you,how many times have you said "If I only had a 120 volt Duck Lamp in my truck"? Many times I'm sure! Now you can have that and more! Just run the extension cord from side drawer from inverter into rear window and 120 volts on the fly. 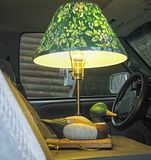 I can now do things like powering my netbook,charging phones,anything less than 300 watts Im good.When I get a 1000-2000 watt inverter in there I will be able to run a lot of things,anywhere my truck can go.Like electric chainsaw,power tools offgrid....including even house lights,tv,etc in power outages.Which I do with a battery/inverter backup system at home now,but thats another story..... ..............  |
|
|
|
Post by jerseycub on Jun 10, 2010 12:09:46 GMT -6
Spuds I'm just in Aw by the whole thing, you lost me with the first post. But I am impressed and wish I could do the same here it would definitely be a great money saver as well as a sound energy saver. This whole project makes my mind race with Ideas on how useful it can be. Greta Job!!! |
|